Connect WhatsApp with your own Meta app
Advanced: only if you use your own Meta developer app. Most shops connect in one click instead. Here: the permanent access token, app secret, phone number ID and WhatsApp Business account ID, and the webhook.
About 30 minutes, plus Meta’s business verification · steps checked October 2026
- 2
Verify your business
Meta asks you to verify your business before you can add your own number and start messaging. Until then WhatsApp Manager shows Account restricted and the Add phone number button stays grey.
Open Business settings → Security Centre → Business verification → Start verification, and upload your business documents (GST certificate, Udyam, or a utility bill in the business name).
Verification usually takes 1–3 working days. You can do the other steps meanwhile.
- 3
Create a Meta app
Open Meta for Developers → My Apps and click Create App.
Choose the use case Connect with customers through WhatsApp, give the app a name (for example "My Shop WhatsApp"), and connect it to your business portfolio.
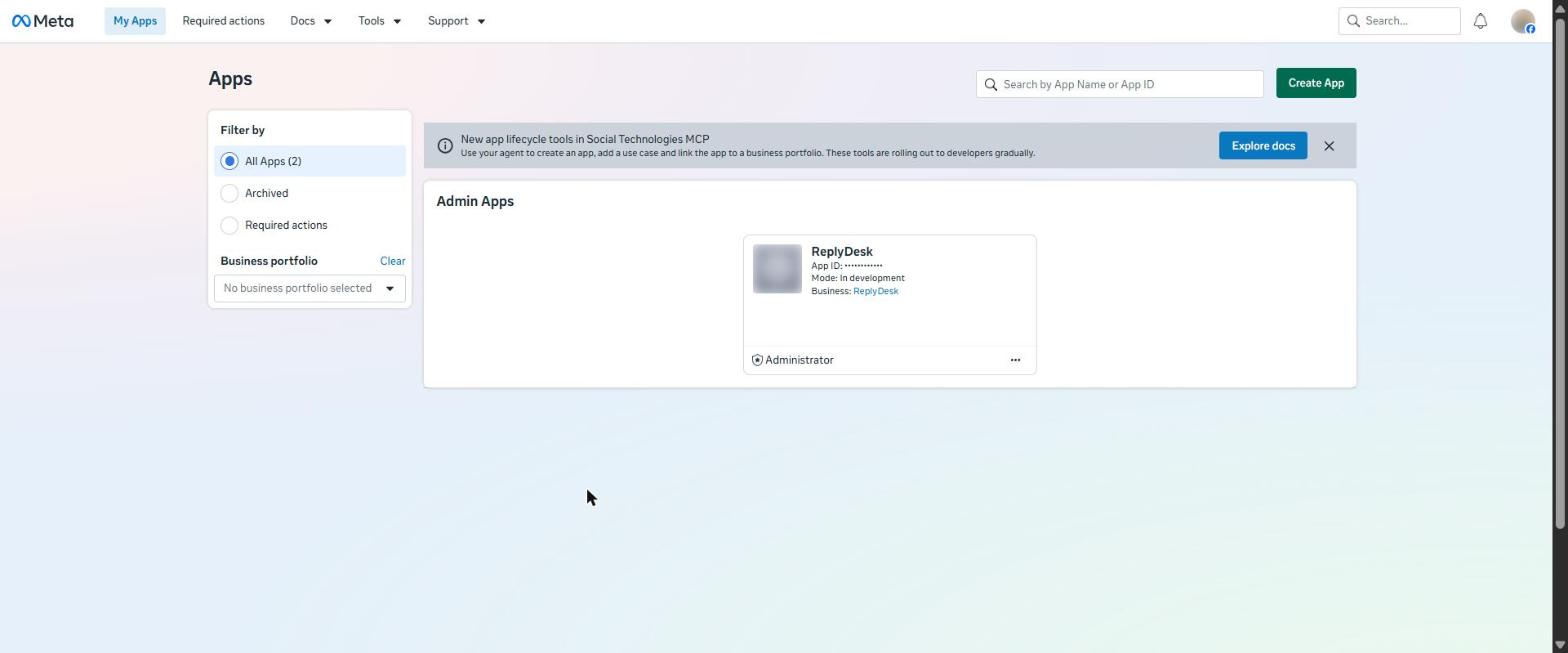
Meta for Developers, My Apps: the Create App button is at the top right. (click to enlarge) - 4
Open the WhatsApp use case
In your app’s Dashboard, click Customize the Connect with customers through WhatsApp use case (you also find it under Use cases in the left menu).
Inside it you have API Setup and Configuration, which the next steps use.
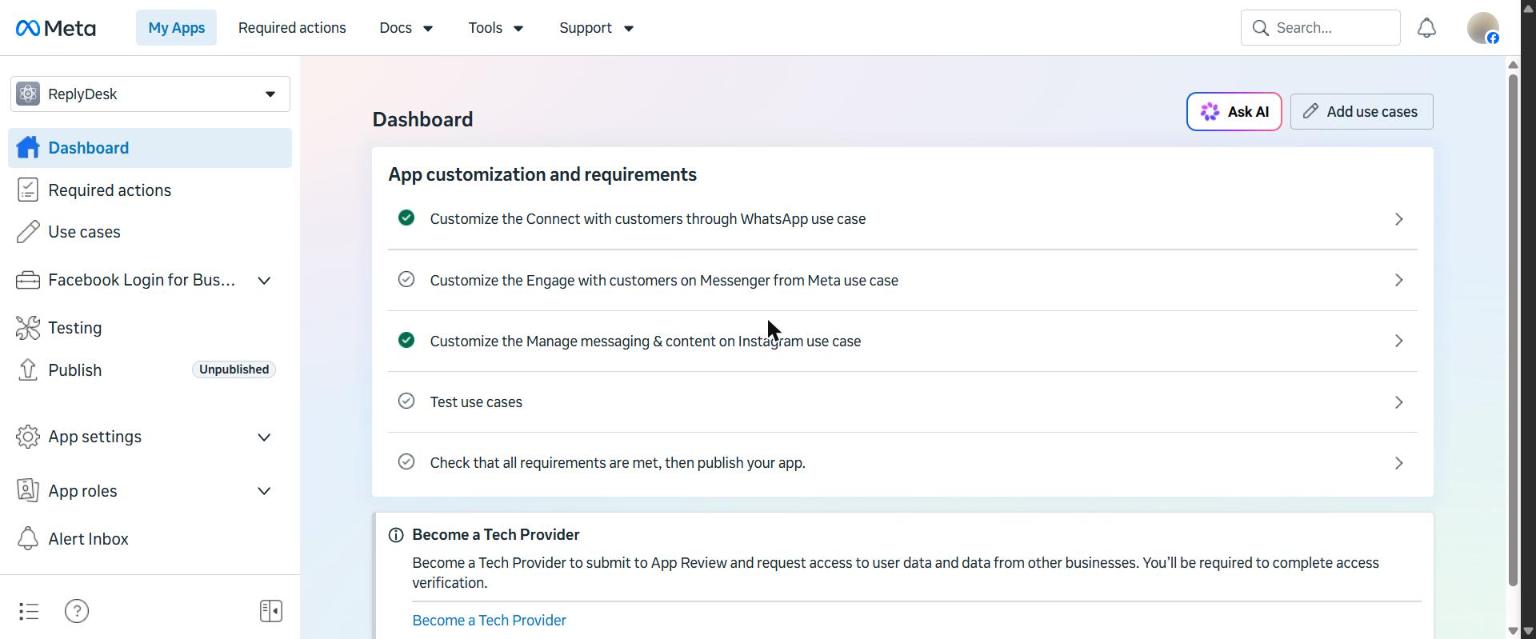
App dashboard: the WhatsApp use case is the first row. (click to enlarge) - 5
Add and verify your phone number
Open WhatsApp Manager → Phone numbers → Add phone number. Enter the display name, category and number, then verify it with the code sent by SMS or voice call.
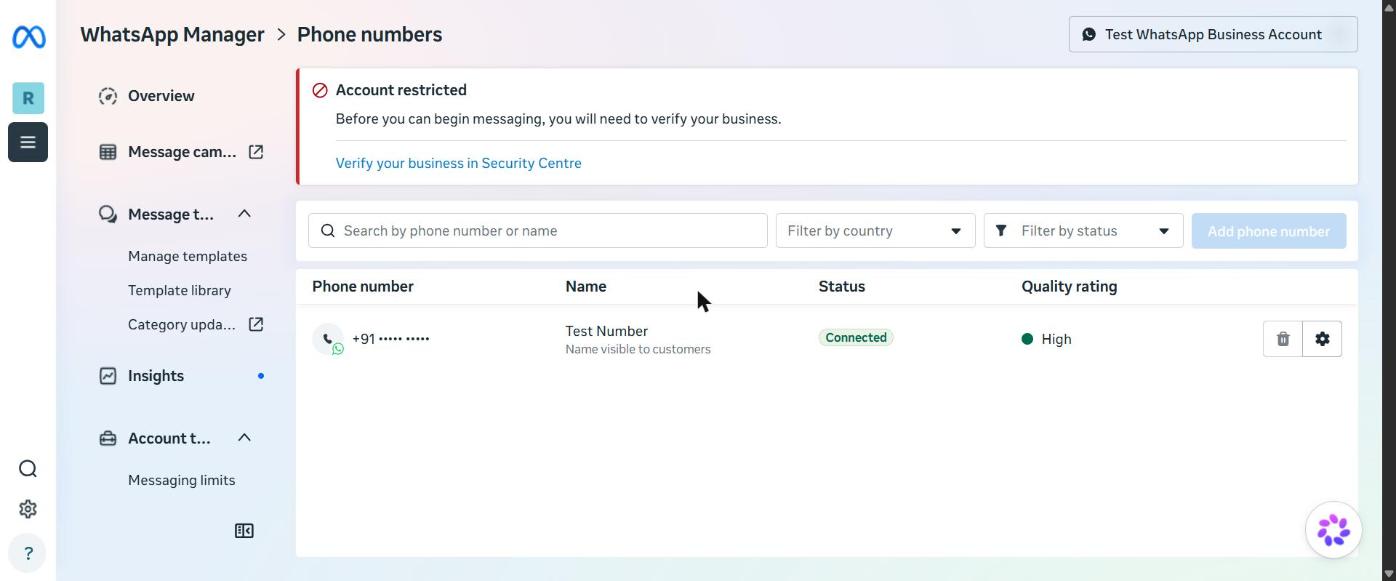
WhatsApp Manager, Phone numbers. The Add phone number button turns blue once your business is verified. (click to enlarge) A number used here cannot stay registered in the normal WhatsApp or WhatsApp Business app. To keep using the app on your phone, use the one-click "Connect WhatsApp" button in ReplySathi with coexistence instead.
- 6
Copy the Phone number ID and WhatsApp Business account ID
In your app: Use cases → Connect on WhatsApp → API Setup. Under Step 1: Select phone numbers, choose your number in From.
Right below it you see Phone number ID and WhatsApp Business account ID, each with a copy icon. Paste them into the fields with the same names in ReplySathi.
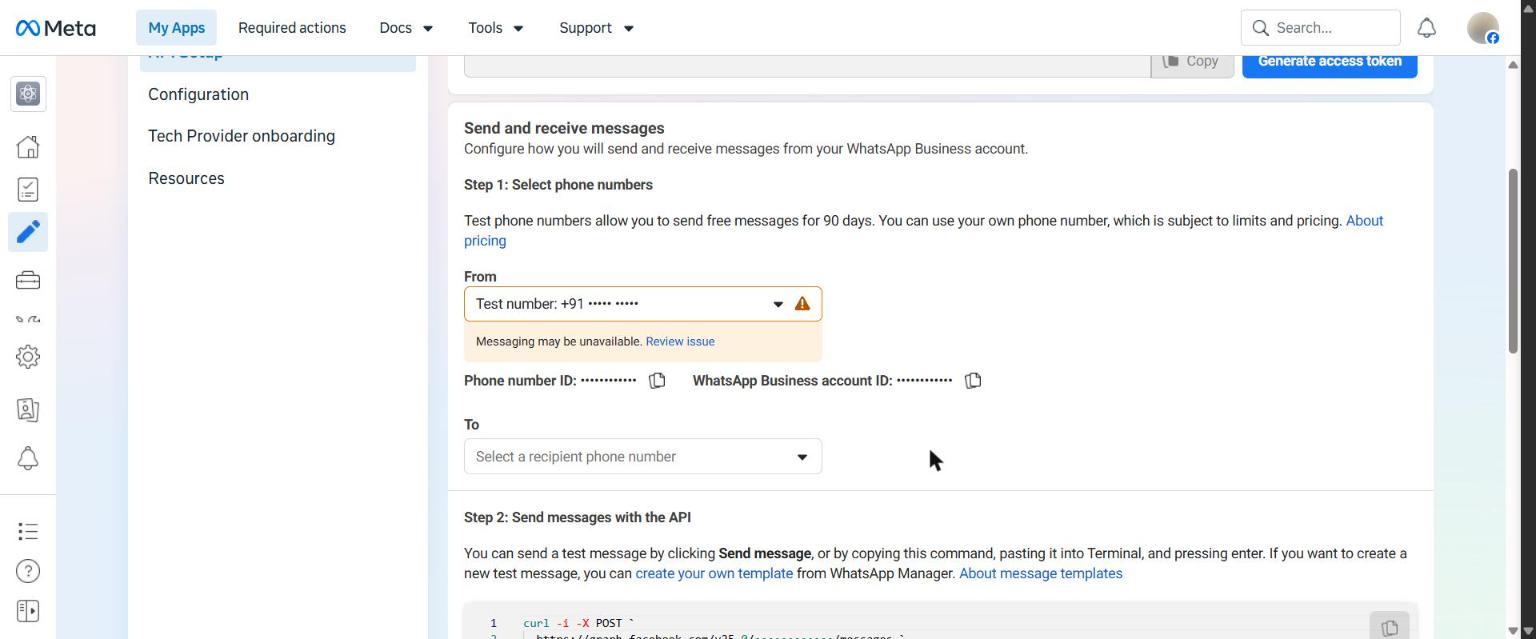
API Setup: pick your number in From; the two IDs are right below it (hidden here). (click to enlarge) Ignore "Generate access token" on this page: that token stops working after 24 hours. The next steps create a permanent one.
- 8
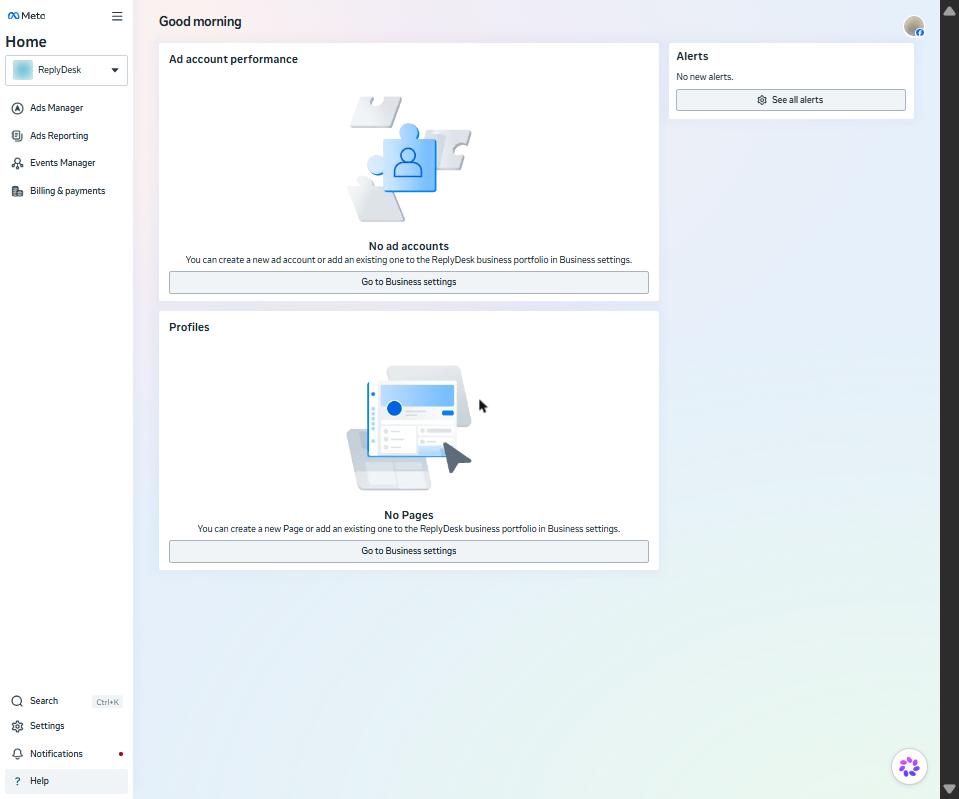
Give the system user your app and WhatsApp account
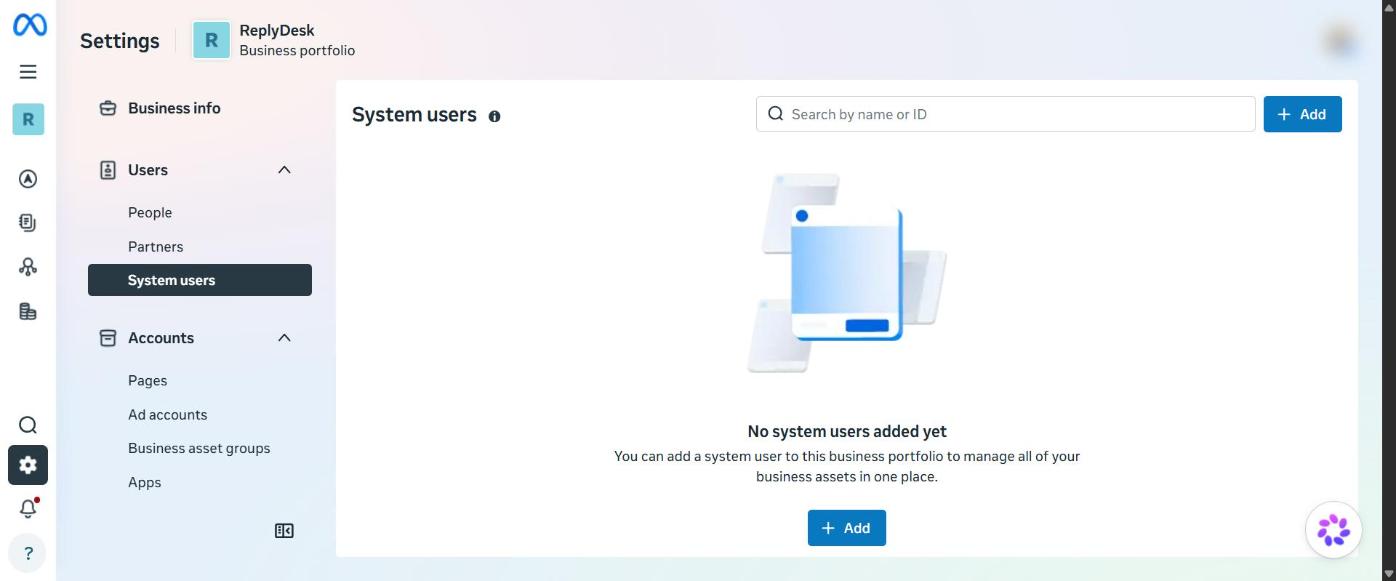
Click the ReplySathi system user → Assign assets.
Under Apps, select your app and turn on Full control (Manage app). Under WhatsApp accounts, select your account and turn on Full control. Save.
- 9
Generate the permanent access token
Still on the system user, click Generate token.
Choose your app, set Token expiration: Never, and tick the permissions whatsapp_business_messaging, whatsapp_business_management and business_management.
Click Generate token and copy it straight away: Meta shows it only once. Paste it into Permanent access token in ReplySathi.
This token gives full access to your WhatsApp account. Paste it only into ReplySathi; never send it by chat or email. ReplySathi stores it encrypted and never shows it again.
- 10
Copy the app secret
In your app: App settings → Basic. Next to App secret, click Show, enter your Facebook password, and copy it.
Paste it into Meta app secret in ReplySathi. ReplySathi uses it to check that incoming messages really come from Meta.
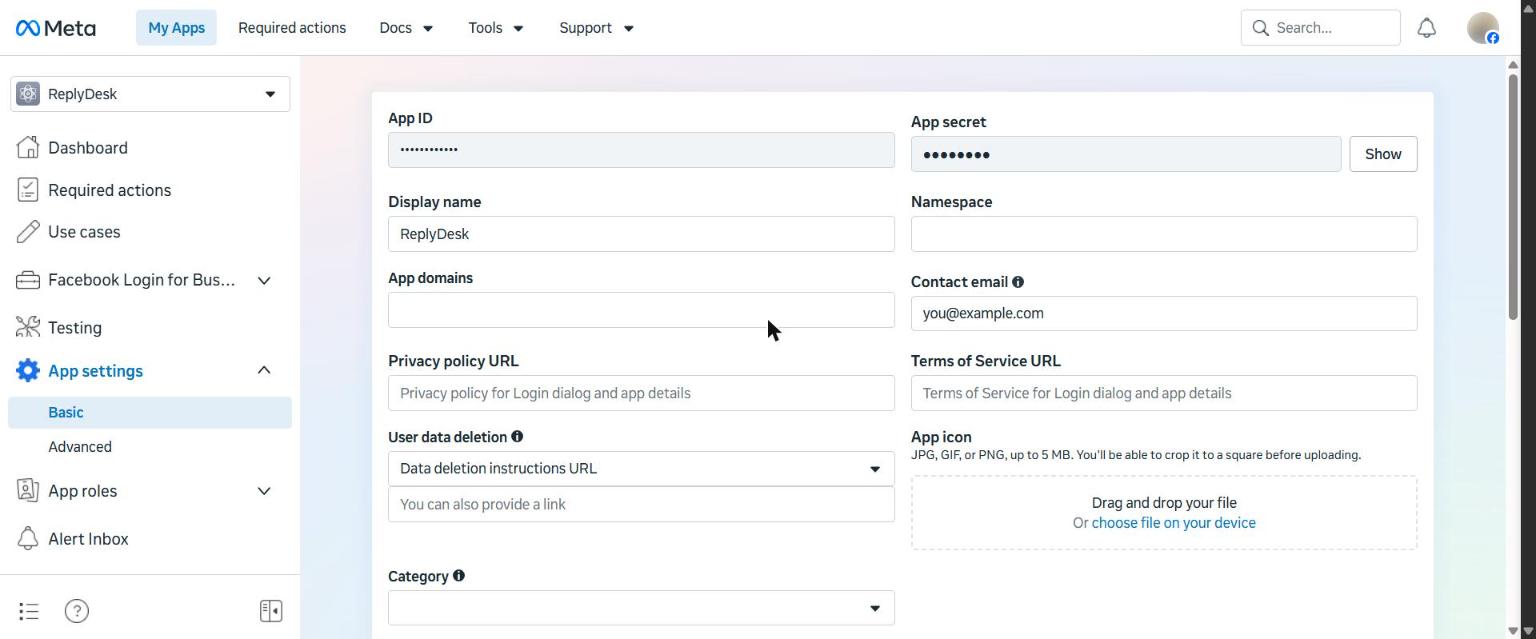
App settings → Basic: the app secret stays hidden until you click Show. (click to enlarge) - 11
Point the webhook to ReplySathi
In your app: Use cases → Connect on WhatsApp → Configuration. Paste the Callback URL and Verify token below into the two fields, then click Verify and save.
Scroll down to Webhook fields and switch Subscribe on for messages.
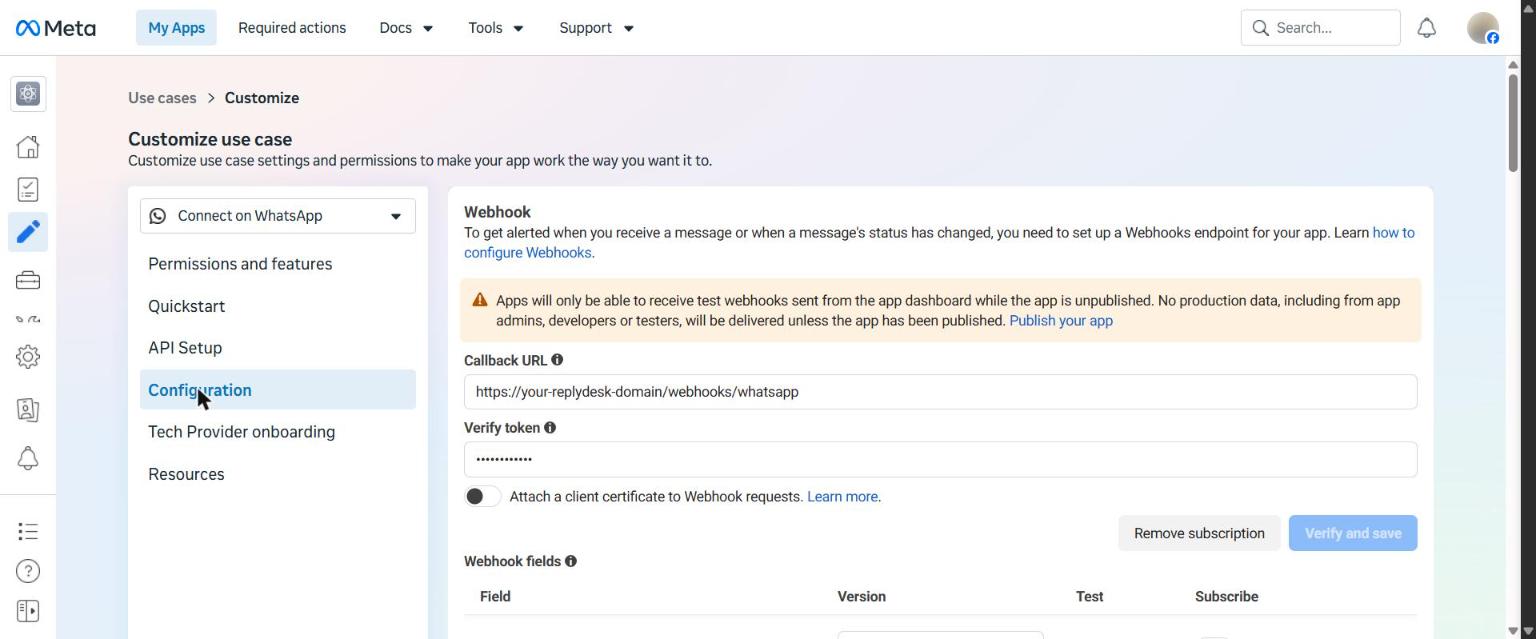
Configuration: Callback URL, Verify token, then Verify and save. (click to enlarge) 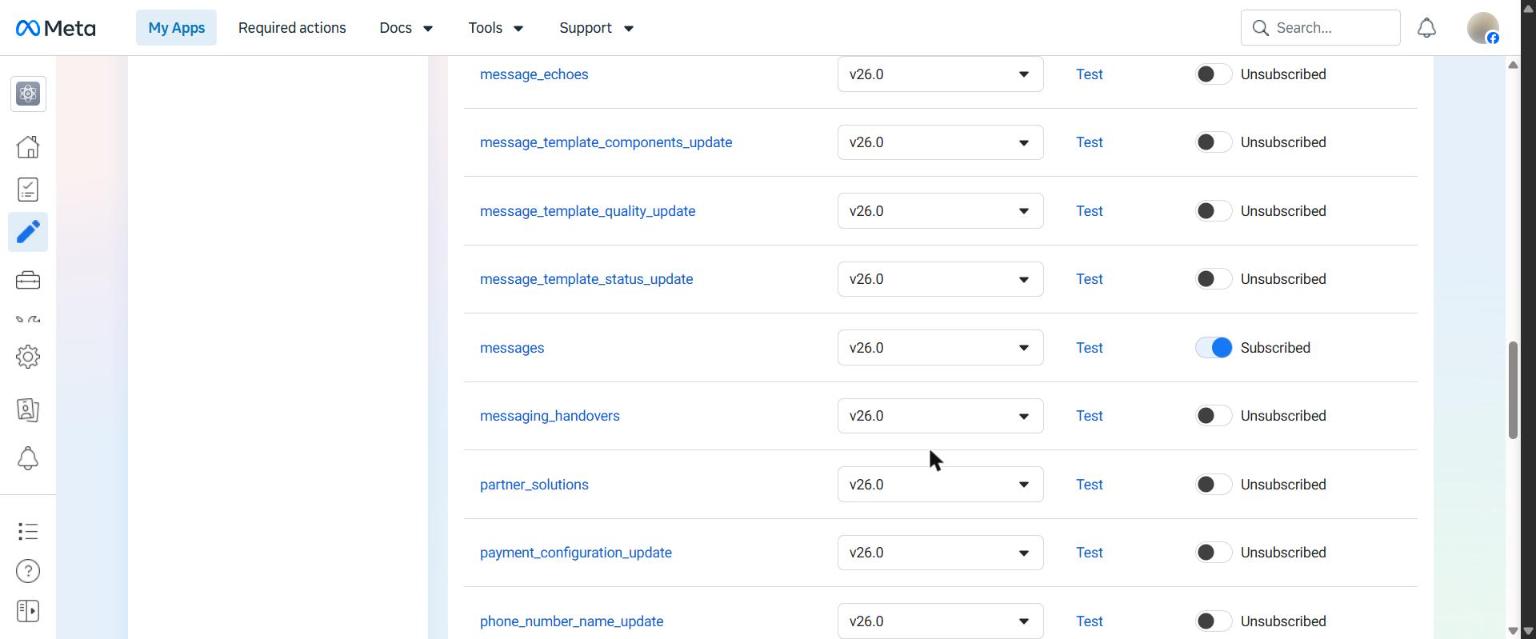
Webhook fields: turn Subscribe on for "messages". (click to enlarge) - 12
Publish the app
While the app is Unpublished, Meta sends only test webhooks: real customers’ messages won’t arrive.
Add a Privacy policy URL in App settings → Basic (your website’s privacy page), then open Publish in the left menu and click Publish.
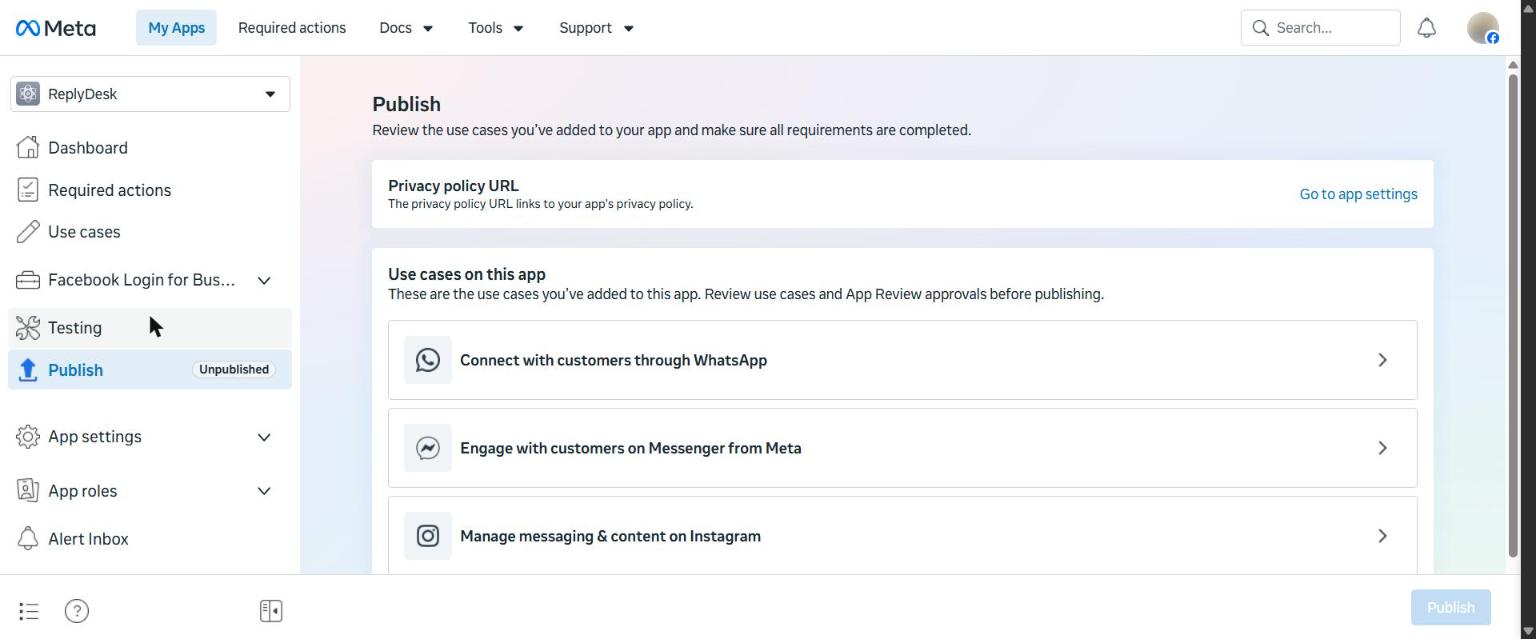
Publish: add the privacy policy URL first, then Publish at the bottom right. (click to enlarge) - 13
Add a payment method (for templates)
Replies to customers who message you are free. Messages you start yourself, using templates, are billed by Meta to your business.
Open Billing & payments, choose your WhatsApp account, and click Add payment method.
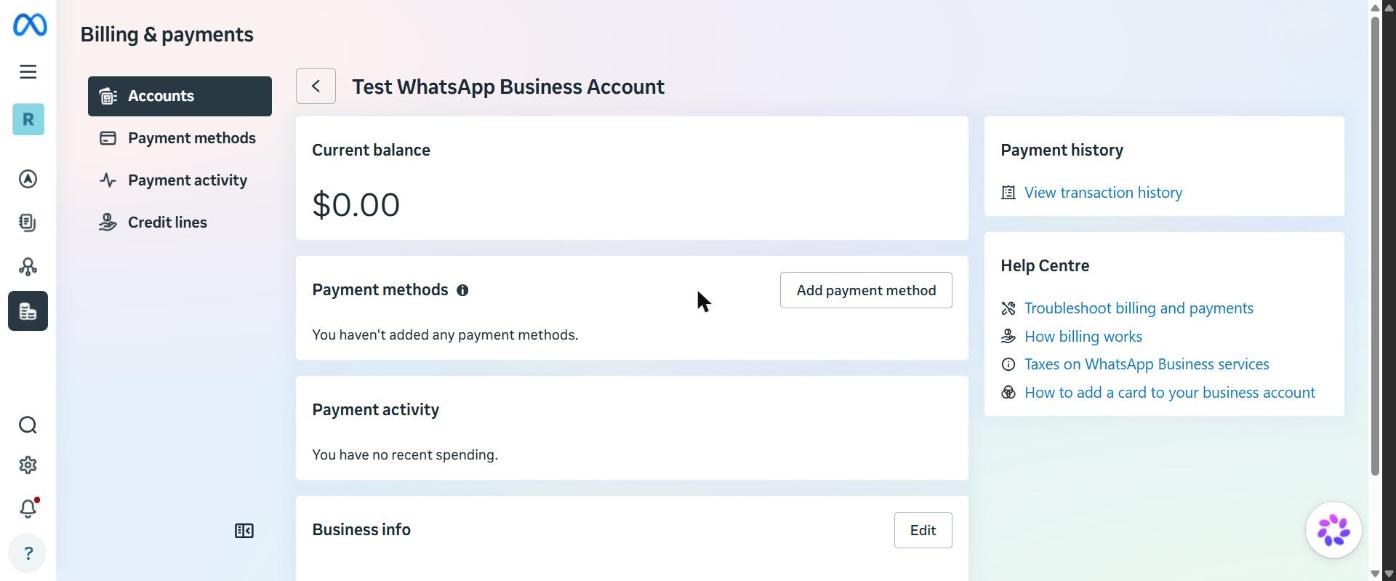
Billing & payments for the WhatsApp account: Add payment method. (click to enlarge) - 14
Connect in ReplySathi and test
In ReplySathi: Channels → Connect with a system-user token. Paste the token, app secret, Phone number ID and WhatsApp Business account ID, then Connect.
Send a WhatsApp message to your number from another phone. It should appear in the Inbox within seconds.
Not arriving? Check that "messages" is subscribed, the app is published, and the app secret matches.
The callback URL and verify token are shown, with Copy buttons, in your dashboard under Channels → Webhooks and in the guide there. Stuck? Contact us or raise a request from Support in your dashboard.